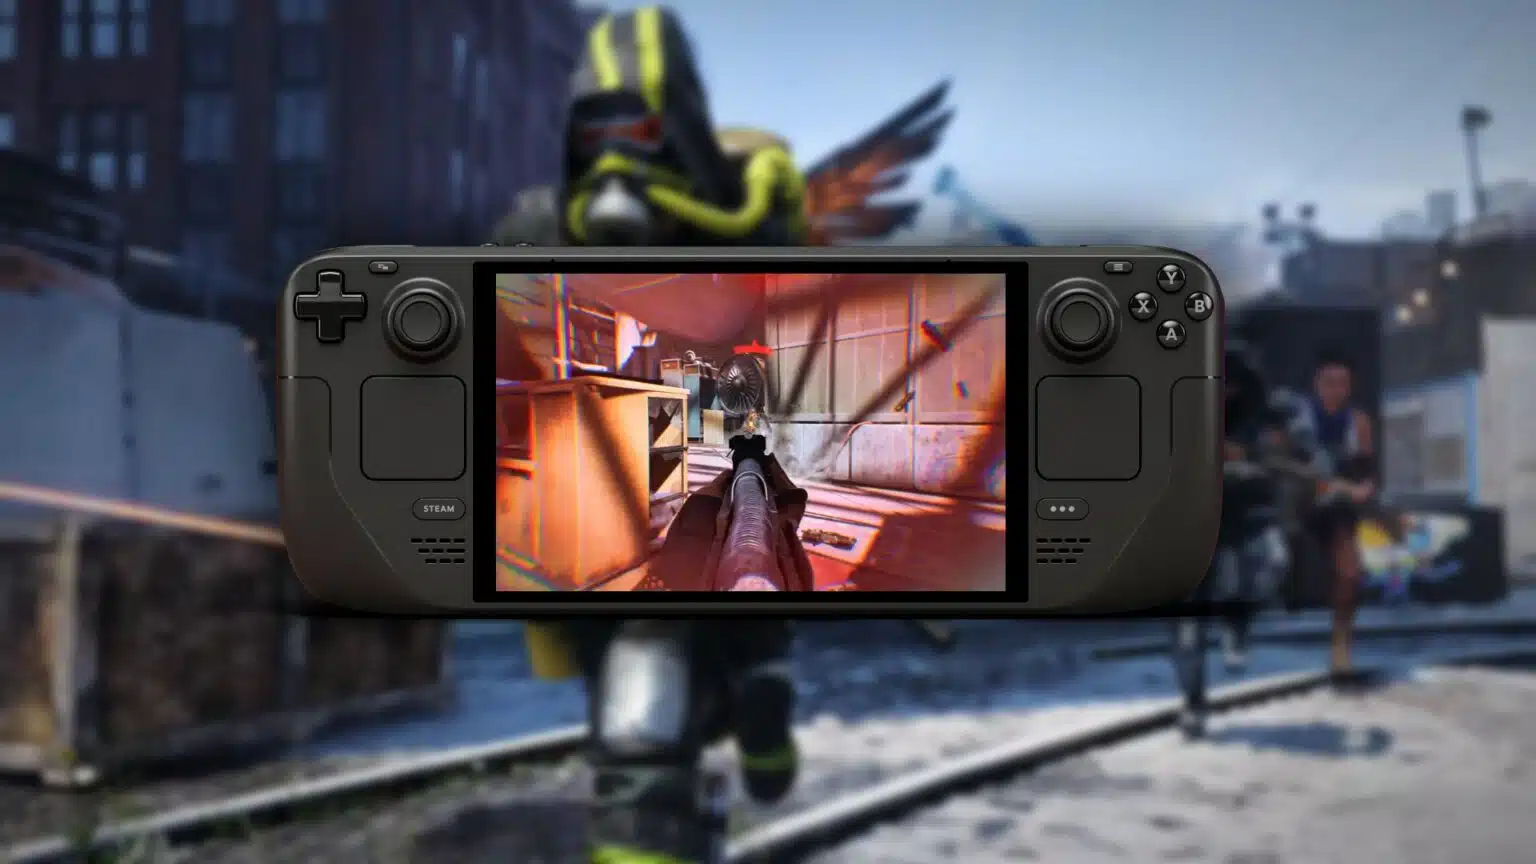
Have you wanted to play Ubisoft’s new FPS on the go but found yourself wrestling with the Ubisoft Connect launcher? Fret not, dear reader, as we here at MP1st have devised an easy-to-understand XDefiant Steam Deck setup guide to walk you through the installation process and get you in-game in a matter of minutes.
Here’s the step-by-step instructions to running XDefiant on your Steam Deck:
XDefiant Steam Deck Setup Guide:
- Head to desktop mode on your Steam Deck and open the Discover app, then search for “PortProton” and install it. Once it’s finished installing, launch the application and give it a minute or two to complete additional downloads and unpack.
- Once PortProton is open, select the Ubisoft Game Launcher from the list and wait for the subsequent downloads to finish. It’ll take another few minutes for PortProton to unpack the new application.
- When the download is finished, a pop-up window will appear and give you the option to rename the Ubisoft Connect launcher. We recommend renaming it to “XDefiant” in order to make it look nice in Gaming Mode.
- You should also untick “Add shortcut to MENU > GAMES” and “Add shortcut to Desktop,” and make sure to tick the box that says “Add shortcut to STEAM library.” Once that’s complete, go ahead and click “Create Shortcut.”
- Close the next window that appears and relaunch PortProton once more, then select the Ubisoft Game Launcher and go to the “Wine Settings” tab on the bottom of the window. Then, choose Winetricks from the options in this menu.
- Scrolling down the list, check the boxes for “pdh” and “pdh_nt4,” then click “OK” and wait for these to finish.
- Open Gaming Mode and go to the “Non-Steam” section of your Steam Library and find XDefiant, select it, and then click the Settings button on the right side. Add the game to your favorites and launch the game, then log into the Ubisoft launcher with your account (Press the Steam button and X at the same time to bring up the keyboard).
- Find XDefiant in the launcher and install the game. While you’re in the launcher, go to the settings menu (click on your profile on the left side of the screen, then Settings within the dropdown menu) and disable all notification settings under the Notifications subsection.
- Launch XDefiant by pressing Play within the Ubisoft Launcher, then go into the game settings from the main menu by clicking R3. Go into the game’s Video & Graphics settings and set everything to lowest, then change the Resolution Scale to 50% or 75% for optimal performance. Make sure you DO NOT CHANGE TO DX12 RENDERER!! You can also limit the game’s FPS to 45 or 60 in-game in order to prevent stuttering.
- OPTIONAL: If you want the game to have a custom icon, go to Firefox and search for “Decky Loader,” then click the link for decky.xyz. Click the Download button in the top right, and open the file in your downloads once it’s appeared there. Run the installer (leave the stable option checked) and then return to Gaming Mode.
- From the Steam Deck’s Quick Access menu, select the Plug icon at the bottom to open Decky, then go to the Store icon in the top right-hand corner. Scroll down until you find SteamGridDB, then install it.
- Return to XDefiant in your Steam Library and press the Start button while hovering over it to open a drop-down menu. If you don’t see “Change Artwork…” at first, close this menu and try again.
- Select “Change Artwork…” and choose whichever XDefiant cover art you prefer, then hit back and launch the game.
And there you go! By following these steps, you should be able to get XDefiant up and running on your Steam Deck in no time. While it’s not the most competitive setup for this fast-paced FPS, it’s still a great way to experience the game from the comfort of your bed or a couch.


